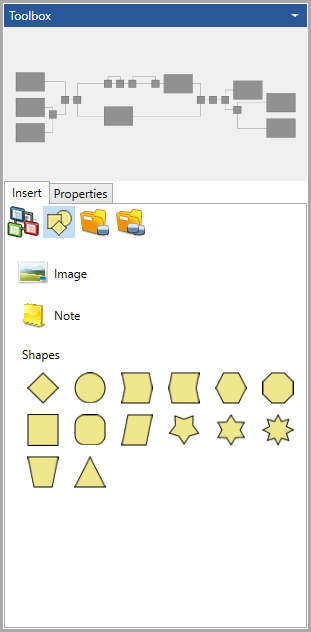
The Image command in the diagram Toolbox enables you to add images to diagrams.
In the Toolbox, select theInsert tab and then the Utilities icon. To insert an image, select and then drag-drop the Image icon option to the desired location on the diagram.
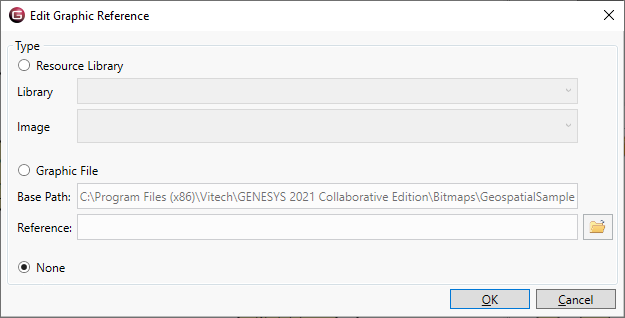
GENESYS then prompts you to select an image from either the stock image libraries or from your own file collection. The image is then inserted with a default text box size and with the image option set to Maintain Fixed Size (see below for details). You can then drag the graphic to the position desired and resize using the box handles.
Selective use of images can significantly enrich the representation value of your model. There are many useful cases for doing this, most notably displaying team or project logos as well as graphical backgrounds. That said, dont overdo a good thing. Emphasize images for level 0 / level 1 and critical stakeholder communications. Diagram images are drawn behind all other diagram content.
|
NOTE: |
Where are images stored? External images are referenced by GENESYS but not directly imported into the database. On diagrams, the image references are stored as part of the diagram's view description. This layer adds rich representation to the technical correctness of the diagram content generated from the underlying system model. When using images, if you delete the corresponding view description in the stored view navigator, you will delete the reference to the image along with all other customizations of the diagram representation (sizing, coloring, positioning, diagram options, etc.). |
Resource Library
GENESYS includes a base image library of over 3,000 images organized into approximately 25 categories to draw upon. All of the images included are 128x128, well-sized to balance representation of the image with the overall size (in pixels) of the diagram. While you will frequently want to use custom images, a common library provides a solid starting point.
When specifying an image if you know the stock image you want, you can directly select the desired library and image from the drop-downs. More likely, you will click the folder icon to browse the available library.
|
NOTE: |
Where stock images fit the need (technical and presentation) of the project team, selecting a stock image significantly simplifies model management. Rather than having to maintain a separate library of image files, everything is self-contained in the image library installed with GENESYS. However, more often than not, you will want your own images to convey either the richness of the domain or your specific branding. |
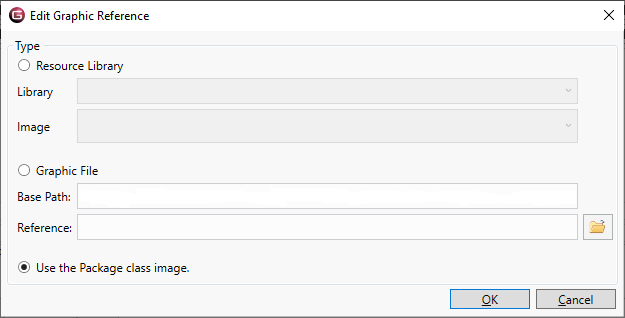
Image File
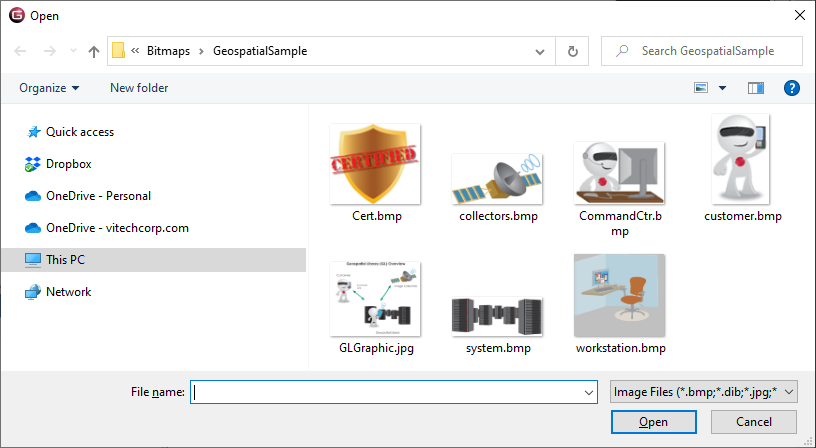
Frequently, you will want to use a custom image to best enrich your technical representation. Selecting the image file option will allow you to specify an image for use on the diagram using the standard Windows file dialog. The dialog opens on your base images path (set as a property in your project property sheet).
By default, the external images path is set to the Bitmaps folder in the GENESYS installation directory. You can add any image desired to this folder or can change the path to point to any directory you wish. Individual images can be located either within this base images path or outside of it. Images within this directory structure will automatically be referenced relatively, easing the management from machine to machine. Images outside of this directory structure will be referenced absolutely, meaning that multiple users must be able to reach the same location using the same network path.
|
NOTE: |
Use moderation in your color toolbox and your image size. GENESYS supports up to 16M colors, but 256 color bitmaps produce almost the same level of results. A 128x128 image gives richness without increasing the diagram (pixel) size. |
Shape Options
-
Shape - the text block shape (diamond, rectangle, circle, etc.)
-
Background Image - the image selected above
-
Image Mode - The display mode defines the scaling approach to be used when the image is displayed on a diagram. There are four possible values:
-
Maintain Fixed Size - display the image at its native resolution, cropping the image as required. This mode will not scale either dimension up or down.
-
Stretch to Fill - scale both dimensions independently up or down to fit the available space. The image will stretch or compress as required.
-
Uniform to Scale - scale both dimensions proportionally to fit the available space. Note that the maximum scale in this mode is 100% in order to maximize the impact and usability of the diagrams.
-
Zoom to Fit - scale to the largest dimension, cropping the other dimension. The image will stay in proportion but the smaller dimension might crop.
-
Labeling - text that is displayed below the image